A driveway gate can enhance the appearance and security of your property, providing a sense of privacy and protection. However, installing a driveway gate can be a complex and challenging process. Whether you want to install a new gate or replace an existing one, it’s important to choose the right type of gate, materials, and hardware.

In this article, we’ll provide you with a step-by-step guide on how to install a driveway gate, so you can have a successful and seamless installation experience.
Step 1: Measure the Opening
The first step in installing a driveway gate is to measure the opening where the gate will be placed. Take precise measurements of the height and width of the opening, as well as the distance between the posts. These measurements will help you choose the right size of the gate and determine the amount of hardware you will need.
Step 2: Choose the Right Type of Gate
There are several types of driveway gates to choose from, including sliding gates, swing gates, cantilever gates, and more. Each type of gate has its own pros and cons, so it’s important to choose the right one for your specific needs and preferences. Consider factors such as the size of the opening, the slope of the driveway, and the desired level of security when choosing the right type of gate.
Step 3: Choose the Right Material
The next step is to choose the right material for your driveway gate. Common materials include wood, aluminum, steel, wrought iron, and vinyl. Each material has its own pros and cons, such as durability, maintenance requirements, and cost. Consider the climate in your area, the style of your home, and your budget when choosing the right material.
Step 4: Install the Posts
Once you have chosen the right type of gate and material, it’s time to install the posts. This involves digging holes for the posts, setting the posts in concrete, and securing the posts to the ground. Make sure the posts are level and secure, as they will support the weight of the gate.
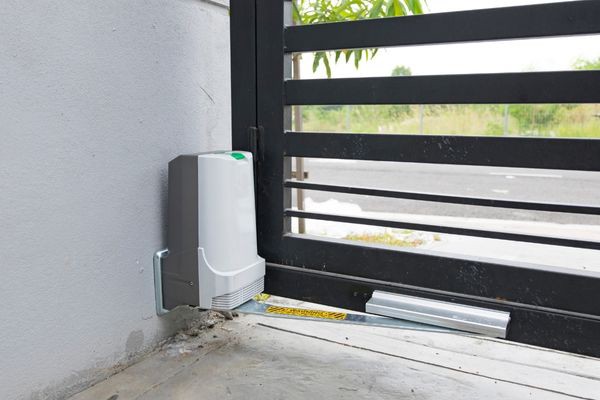
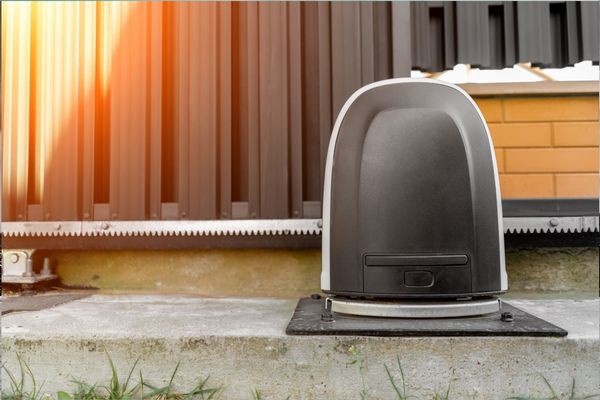
Step 5: Install the Hinges and Hardware
The next step is to install the hinges and other hardware, such as the latch, lock, and opener. Make sure all the hardware is securely attached to the gate and the posts. Test the gate to ensure it opens and closes smoothly and securely.
Step 6: Install the Gate
Finally, it’s time to install the gate itself. This involves attaching the hinges to the gate, positioning the gate in the opening, and adjusting the hinges as needed. Test the gate again to ensure it opens and closes smoothly and securely.
Installing a driveway gate can be a complex process, but with the right knowledge and tools, it can be a rewarding experience. By following these steps, you can have a successful and seamless installation, and enjoy the benefits of having a secure and stylish gate for your property. If you’re looking for professional and reliable gate repair and installation services, contact All Gates Repair and Installation today. We have the expertise and experience to help you choose the right type of gate and material, and install it to your satisfaction.